
What Happens At A Mold Inspection?
Introduction
Mold is an insidious problem that can affect homes and businesses alike. It thrives in damp, humid environments and can pose serious health risks, including respiratory issues and allergic reactions. Given the potential dangers of mold growth, it’s crucial to understand the process of a mold inspection. This article will delve into What Happens At A Mold Inspection?, providing comprehensive insights into each step of the process, ensuring you’re well-informed about this critical aspect of property maintenance.
What Happens At A Mold Inspection?
A mold inspection is a meticulous evaluation aimed at identifying mold presence within a property. The process typically involves several key steps that ensure thoroughness and accuracy.
Initial Assessment
The first phase of a mold inspection begins with an initial assessment. During this phase, the inspector interviews the homeowner or occupant to gather information regarding any visible mold, past water damage, or concerning odors. This dialogue is vital as it helps the inspector focus on potential problem areas.
- Questions for Homeowners:
- Have you noticed any strange smells?
- Are there any visible signs of mold?
- Has there been any history of water leaks or flooding?
By understanding these factors, inspectors can hone in on specific locations during their examination.
Visual Inspection of Property
Following the initial assessment, the inspector conducts a visual inspection of both interior and exterior spaces. This includes:
- Attics and Basements: Common hotspots for mold due to humidity.
- Bathrooms: Areas prone to moisture.
- Kitchens: Particularly under sinks where leaks may occur.
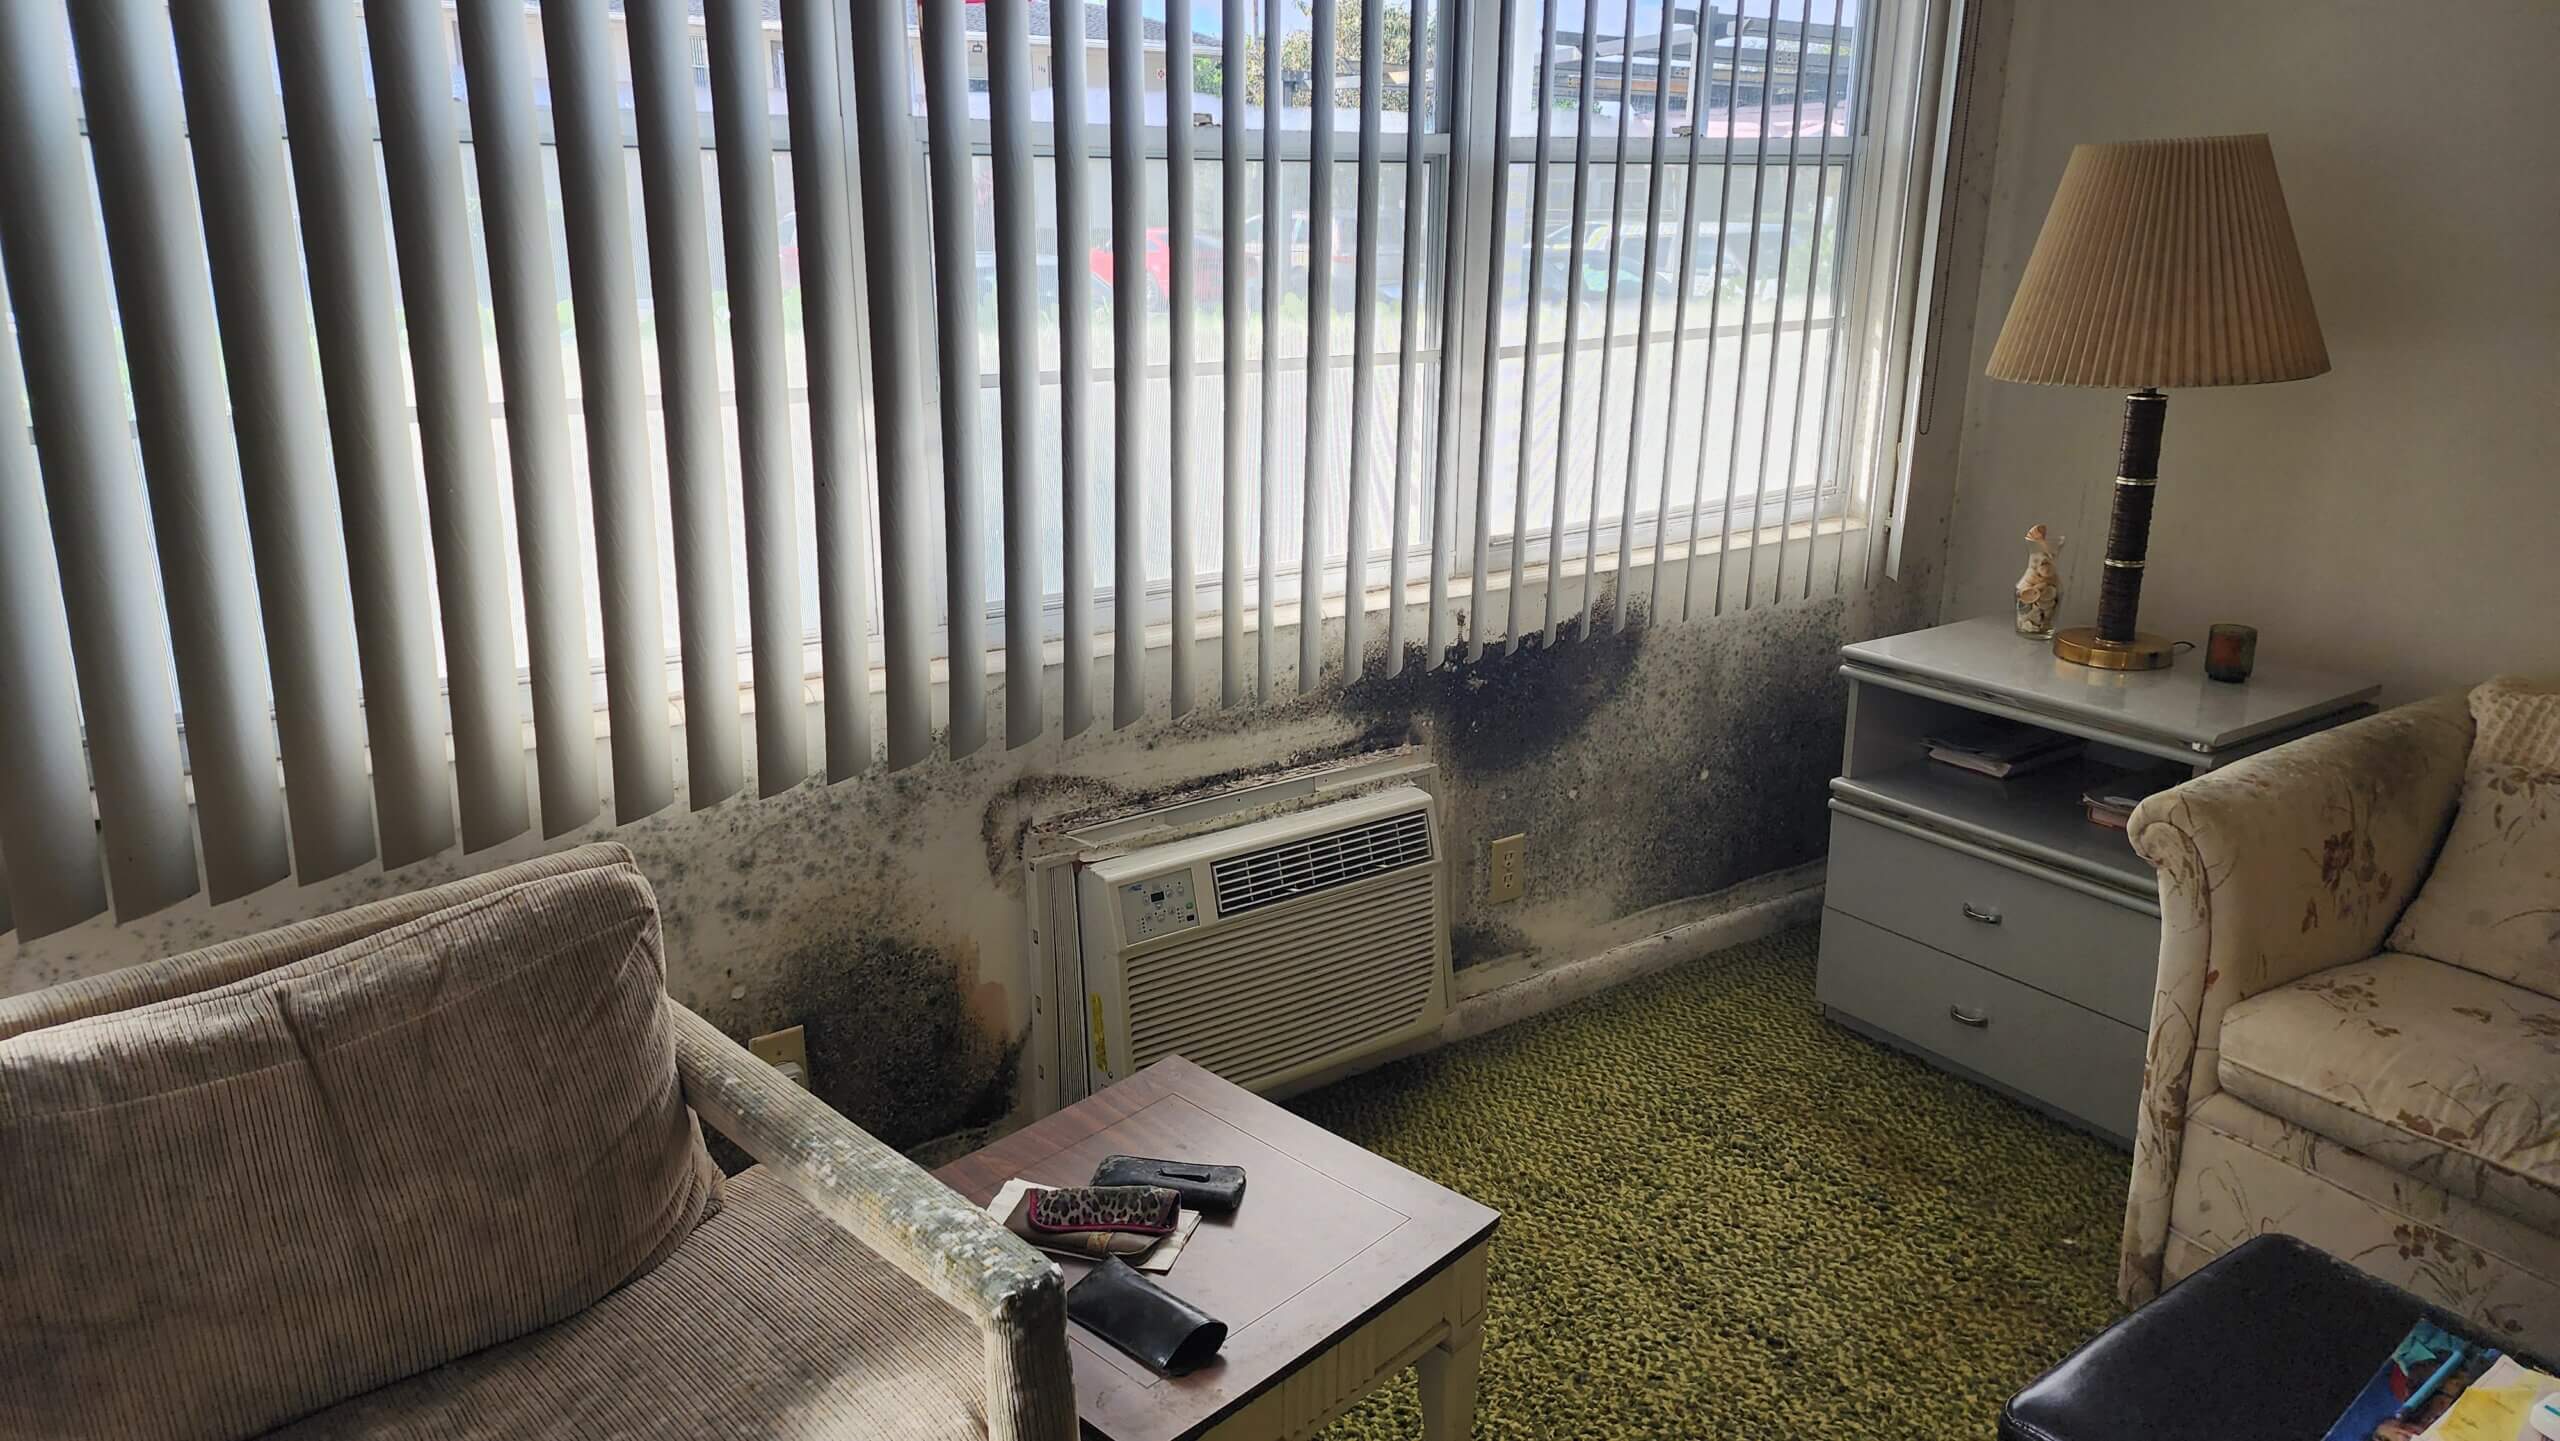
During this visual check, inspectors look for discoloration on walls or ceilings, peeling paint, and other signs that could indicate hidden moisture or mold growth.
Moisture Level Testing
After visually assessing the property, moisture levels are tested using specialized equipment like moisture meters. Understanding current moisture levels helps pinpoint areas at risk for mold proliferation.
- Tools Used:
- Moisture meters
- Thermal imaging cameras
These tools allow inspectors to detect areas where excess moisture may not be immediately visible but could lead to future complications.
Air Quality Testing
One crucial element in understanding what happens at a mold inspection is air quality testing. Inspectors often collect air samples from various rooms throughout the property to analyze for airborne spores.
- Spore traps
- Surface sampling
This step is essential because certain molds can be harmful even when not visibly present.
Reporting Findings
Upon completion of testing and analysis, inspectors compile their findings into a detailed report. This document typically includes:
- Summary of findings
- Recommendations for remediation
- Photos taken during inspections
Such reports are invaluable as they provide homeowners with clear guidance on how to proceed if mold is discovered.
Understanding Mold Types: What You Should Know
Common Types of Molds Found During Inspections
Aspergillus
Often found in homes with water damage and known for its potential health risks.
Cladosporium
Frequently found outdoors but can proliferate indoors as well; associated with allergies.
Stachybotrys (Black Mold)
Known for its toxicity; grows in damp areas such as basements or behind walls.
Penicillium
Commonly found in water-damaged buildings; its spores can trigger asthma and allergies.
Alternaria
Present both indoors and outdoors; often linked with respiratory issues.
By recognizing these common molds, homeowners can better understand their environment's safety level post-inspection.
The Importance of Professional Expertise in Mold Inspections
While DIY methods may seem appealing for spotting mold problems, hiring professionals ensures a comprehensive approach due to their expertise and equipment access.
Why Choose Certified Inspectors?
Experience Matters: Certified inspectors have undergone training that equips them with knowledge about different molds and their health effects.
Advanced Tools: Professionals utilize state-of-the-art equipment unavailable to most homeowners, leading to more precise results.
Objective Perspective: Unlike homeowners who may overlook subtle signs due to familiarity with their living space, professionals offer an unbiased evaluation.
Potential Risks of Skipping Professional Help
- Missed Mold Growth: DIY inspections might not uncover hidden infestations.
- Incomplete Remediation Plans: Without expert guidance, remediation efforts may lack effectiveness.
- Health Hazards: Unidentified toxic molds could lead to serious health risks if left untreated.
Steps After a Mold Inspection: What Comes Next?
Once you’ve undergone a thorough inspection and received your report detailing findings, you’ll need to consider your next steps carefully.
Evaluating Remediation Options
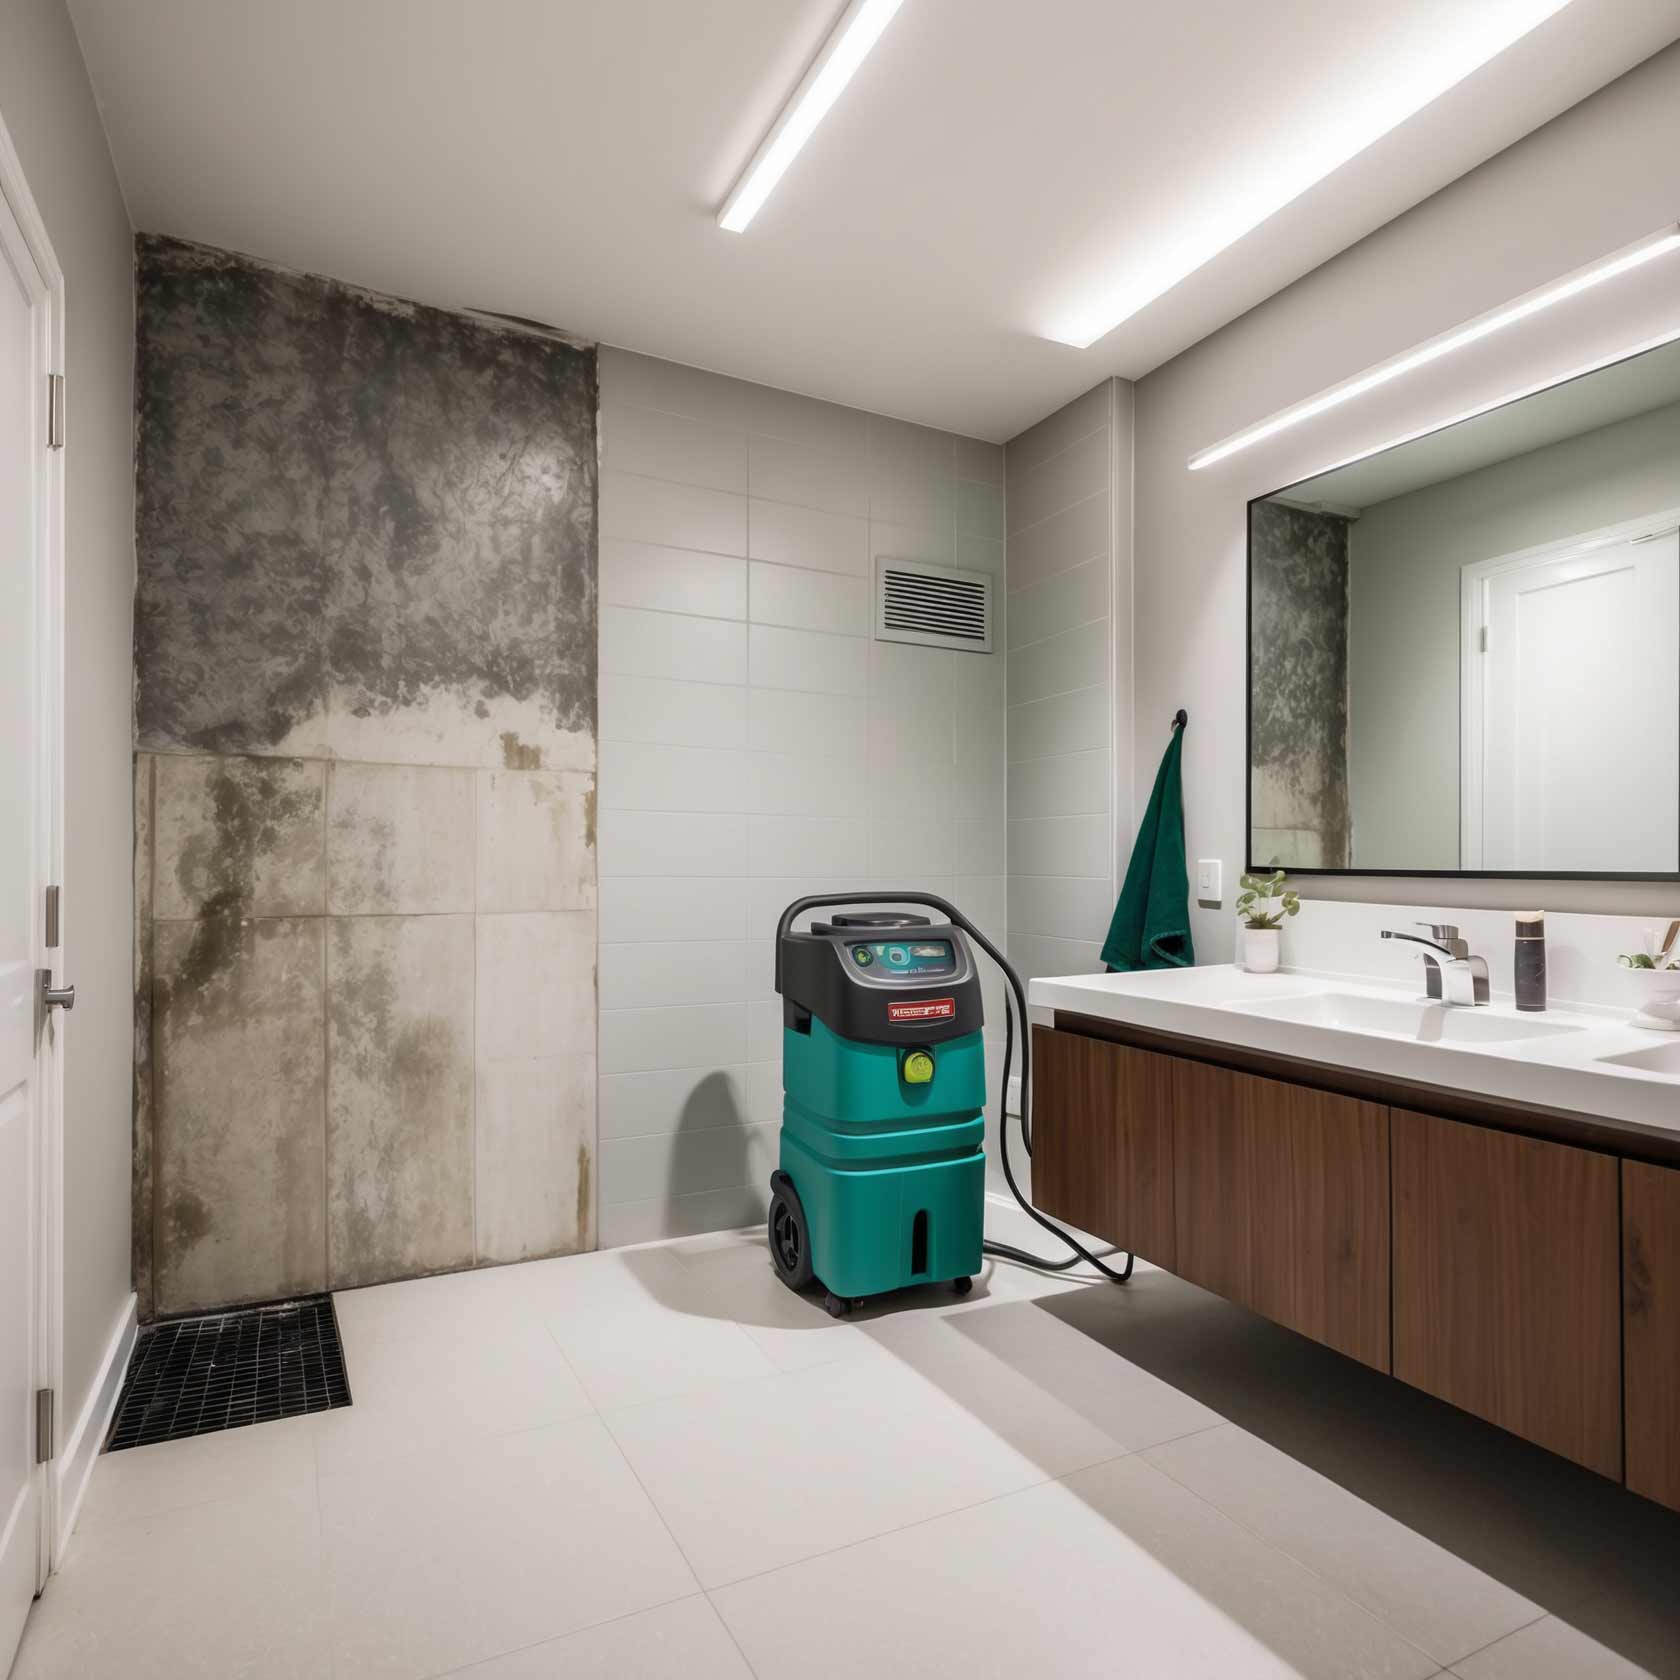
If mold is detected during your inspection, remediation becomes necessary. Homeowners generally have two options:
- These services handle removal efficiently utilizing trained professionals equipped with appropriate gear and tools.
- For smaller infestations (under 10 square feet), some homeowners choose DIY methods using cleaning solutions available at local stores—although caution is advised here!
Creating a Remediation Plan
Regardless of which route you choose—professional or DIY—a solid plan should be established:
Preventing Future Mold Growth After An Inspection
Post-inspection prevention strategies play an integral role in maintaining a healthy indoor environment free from mold recurrence.
Maintaining Proper Humidity Levels
Mold thrives in humid conditions; thus controlling humidity through dehumidifiers or ventilation systems is critical:
- Aim for indoor humidity levels between 30%-50%.
Tips:
- Use exhaust fans during cooking or bathing.
- Fix leaks promptly—don’t let water sit around!
Regular Cleaning Practices
Incorporating routine cleaning practices can also aid in preventing future infestations:
By staying vigilant about cleanliness and addressing potential issues promptly, you significantly reduce your risk of future infestations following an inspection.
FAQs About Mold Inspections
Q1: How long does a typical mold inspection take?
A typical residential inspection lasts between 1–2 hours depending on property size but can vary based on findings during assessments.
Q2: Do I need to leave my home during an inspection?
Generally speaking, no; however, if significant work must be done afterward (like remediation), it’s advisable to vacate temporarily until all procedures are complete!
Q3: Can I perform my own mold inspection effectively?

Q4: How much does a professional mold inspection cost?
Costs can range from $300-$800 based on location/extent involved but investing upfront could save thousands Tip Top Plumbing & Restoration later when addressing major issues early!
Q5: Is black mold always toxic?
Not necessarily! While Stachybotrys (black mold) poses health risks under certain conditions—many molds appear black without being hazardous either way!
Q6: When should I schedule another inspection after remediating?
It's recommended within six months post-removal efforts; this ensures effectiveness while confirming no residuals remain lurking unseen!
Conclusion
Understanding what happens at a mold inspection equips homeowners with valuable knowledge essential for maintaining safe living environments free from harmful intrusions like fungi growths! By taking proactive measures through regular assessments alongside diligence concerning maintenance tasks—one ensures peace-of-mind knowing home remains healthy year-round! Always remember—addressing minor concerns before they escalate into larger issues saves time/money long-term!